A bit of Istio before tea-time
To say that service-mesh is a controversial area of cloud computing, would be an understatement, but things are changing and deploying something like Istio no longer requires a MacBook with 32GB of RAM.
Updated: May 2021 with cert-manager support and updated Istio to 1.9

In this post I'll show you how you can get a full Istio demo up and running with a public IP directly to your laptop. We'll do all this within the short period of time between finishing work and eating your evening meal (tea-time).
The resources you'll need
- A computer or laptop running MacOS, Linux is also fair-game and Windows may work, but I'm not testing that workflow here
- arkade - arkade is an app installer that takes a helm chart and bundles it behind a nice Golang CLI
- Docker Desktop or Docker CE - installed in the normal way, you probably have this already
- KinD - the "darling" of the Kubernetes community is Kubernetes IN Docker, a small one-shot cluster that can run inside a Docker container
- inlets-operator - this operator uses inlets PRO and cloud SDKs to provision self-hosted TCP tunnels so we can get traffic into the cluster
Create the Kubernetes cluster with KinD
To show how lightweight we can make Istio now, we're going to use KinD, which runs inside a container with Docker for Mac or the Docker daemon. MacOS cannot actually run containers or Kubernetes itself, so projects like Docker for Mac create a small Linux VM and hide it away. You can see how many CPUs and how much RAM is allocated through the preferences window.
Download arkade, the Kubernetes marketplace and devops-CLI installer:
curl -sSLf https://dl.get-arkade.dev/ | sudo sh
Download the kind binary:
arkade get kind
If you don't have kubectl, you can use arkade get kubectl here too.
Now create a cluster:
 kind create cluster
Creating cluster "kind" ...
 ✓ Ensuring node image (kindest/node:v1.19.0) 🖼
 ✓ Preparing nodes 📦
 ✓ Writing configuration 📜
 ✓ Starting control-plane 🕹️
 ✓ Installing CNI 🔌
 ✓ Installing StorageClass 💾
Set kubectl context to "kind-kind"
You can now use your cluster with:

kubectl cluster-info --context kind-kind

Have a nice day! 👋
We can check that our single node is ready now:
kubectl get node -o wide

NAME                 STATUS     ROLES    AGE   VERSION   INTERNAL-IP   EXTERNAL-IP   OS-IMAGE       KERNEL-VERSION     CONTAINER-RUNTIME
kind-control-plane      Ready   master   35s   v1.19.0   172.17.0.2    <none>        Ubuntu 19.10   5.3.0-26-generic   containerd://1.3.2
Looks good, now to get some software
Install Istio
You can install Istio using the documentation site at Istio.io, but we're going to use arkade instead since it gives us a one-line install and also bundles a version of Istio configuration for constrained development environments like a KinD cluster.
arkade will also use the official helm chart for Istio and download helm3 to its own private location so that you don't even need to worry about that.
Now see what apps you can install:
arkade install --help
You'll find over 40 apps, with more added by the community on a regular basis.
Now install the Istio app, and if you're an expert, you can provide overrides to turn off additional features like Prometheus.
arkade install istio --help

Install istio

Usage:
  arkade install istio [flags]

Examples:
  arkade install istio --loadbalancer

Flags:
  -h, --help               help for istio
      --namespace string   Namespace for the app (default "istio-system")
      --set stringArray    Use custom flags or override existing flags
                           (example --set=prometheus.enabled=false)
      --update-repo        Update the helm repo (default true)
Low-requirements config:
arkade install istio
This is pre-configured with lower-spec cluster requirements than normal.
You'll see arkade will make a folder $HOME/.arkade/bin/helm3 and download helm, then update the repos available and finally it will install Istio.
Now the control-plane is up and running:
kubectl get deploy -n istio-system
NAME                   READY   UP-TO-DATE   AVAILABLE   AGE
istio-ingressgateway   1/1     1            1           19s
istiod                 1/1     1            1           39s
Try the BookInfo Application
The the BookInfo Application is still the canonical example that the Istio team provide as a demo. If you have your own configurations or examples, feel free to try them out too.
Enable side-car injection and then deploy the BookInfo manifests:
kubectl label namespace default istio-injection=enabled

kubectl apply -f https://raw.githubusercontent.com/istio/istio/release-1.9/samples/bookinfo/platform/kube/bookinfo.yaml

kubectl apply -f https://raw.githubusercontent.com/istio/istio/release-1.9/samples/bookinfo/networking/bookinfo-gateway.yaml
Access the BookInfo Application
If you run the following command, then you can access the BookInfo Application from your local computer on localhost:
kubectl port-forward -n istio-system \
  svc/istio-ingressgateway 31380:80
Then navigate to the URL or run curl:
curl -i http://127.0.0.1:31380/productpage

HTTP/1.1 200 OK
content-type: text/html; charset=utf-8
content-length: 4183
server: istio-envoy
date: Sat, 15 May 2021 21:30:11 GMT
x-envoy-upstream-service-time: 1142

<!DOCTYPE html>
<html>
  <head>
    <title>Simple Bookstore App</title>
<meta charset="utf-8">
Get a public IP for the BookInfo Application
Let's now get a public IP for the BookInfo Application, so that we can start accepting incoming requests from the Internet. Having a public IP means that we can simulate our cluster being on a public cloud provider, just like an AWS EKS cluster which would usually cost us hundreds of dollars per month to run.
See how we have no IP for our Istio Gateway?
NAME TYPE CLUSTER-IP EXTERNAL-IP PORT(S) istio-ingressgateway LoadBalancer 10.96.252.61 <pending> 15020:30733/TCP,80:31380/TCP,443:31390/TCP,31400:31400/TCP,15029:31136/TCP,15030:31999/TCP,15031:32135/TCP,15032:32245/TCP,15443:32001/TCP
You may have heard of tools like Ngrok in the past which can create a HTTP tunnel. These tools tend to be subject to quite strict connection limits and have poor Kubernetes integrations. Instead we'll use the inlets-operator which can detect Services of type LoadBalancer and then create a public IP for them via a tunnel and public cloud.
There's a arkade app for the inlets-operator, let's install it, but first set up a cloud access token for your favourite provider. GCE, EC2, DigitalOcean, Scaleway, Packet.com and others are available. I'm going to use DigitalOcean which should cost around 5 USD / mo to keep up 24/7.
Why use arkade when there's a helm chart available? It's easier and all the important flags are documented.
arkade install inlets-operator --help
So here we go:
arkade install inlets-operator \
  --token-file ~/Downloads/do-access-token \
  --provider digitalocean \
  --region lon1 \
  --license-file $HOME/.inlets/LICENSE
For documentation on other cloud providers see here: inlets-operator reference documentation
Here's the output, which we can see again at any time with arkade info inlets-operator:
=======================================================================
= inlets-operator has been installed.                                  =
=======================================================================

# The default configuration is for DigitalOcean and your secret is
# stored as "inlets-access-key" in the "default" namespace or the namespace
# you gave if installing with helm3

# To get your first Public IP run the following:

# K8s 1.17
kubectl run nginx-1 --image=nginx --port=80 --restart=Always

# K8s 1.18 and higher:

kubectl apply -f \
 https://raw.githubusercontent.com/inlets/inlets-operator/master/contrib/nginx-sample-deployment.yaml

# Then expose the Deployment as a LoadBalancer:

kubectl expose deployment nginx-1 --port=80 --type=LoadBalancer

# Find your IP in the "EXTERNAL-IP" field, watch for "<pending>" to
# change to an IP

kubectl get svc -w

# When you're done, remove the tunnel by deleting the service
kubectl delete svc/nginx-1

# Check the logs
kubectl logs deploy/inlets-operator -f

# Find out more at:
# https://github.com/inlets/inlets-operator

Thanks for using arkade!
Now you can start watching for the public IP to appear:
kubectl get -n istio-system \
  svc/istio-ingressgateway -w

NAME                   TYPE           CLUSTER-IP     EXTERNAL-IP
istio-ingressgateway   LoadBalancer   10.106.220.170   <pending>
istio-ingressgateway   LoadBalancer   10.106.220.170   165.227.237.77
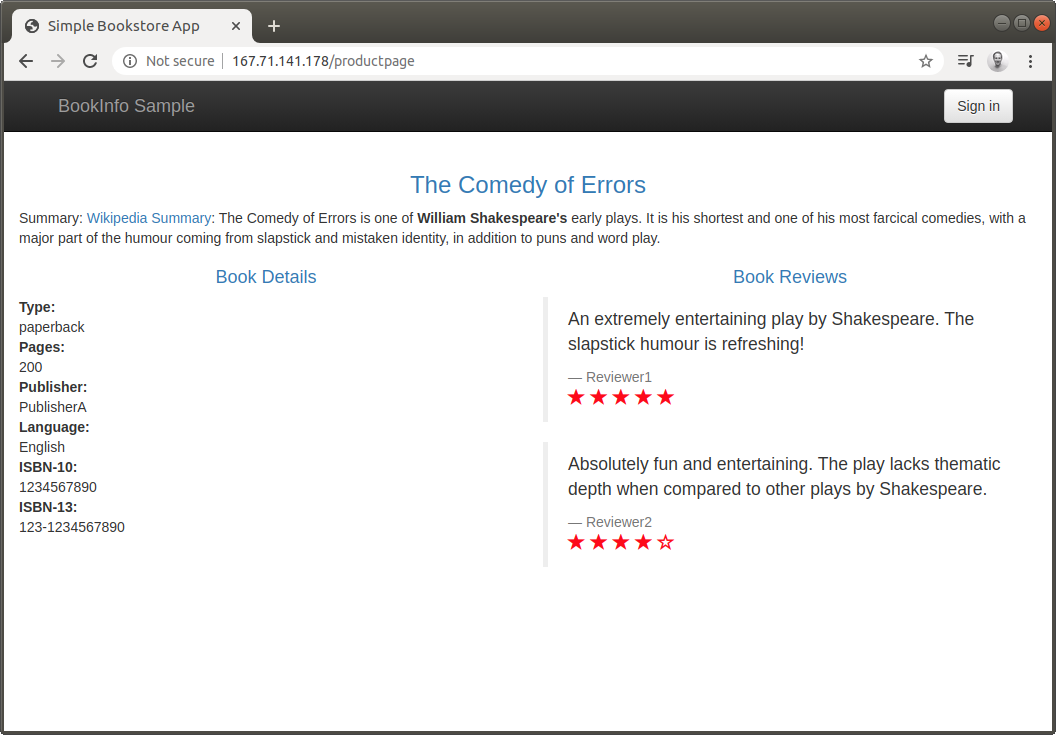
Open the URL in a browser using the /productpage URL and the EXTERNAL-IP:
http://165.227.237.77/productpage
The gateway definition contains other routes that can be forwarded to the bookinfo application. For instance:
curl -s http://165.227.237.77/api/v1/products | jq

[
  {
    "id": 0,
    "title": "The Comedy of Errors",
    "descriptionHtml": "<a href=\"https://en.wikipedia.org/wiki/The_Comedy_of_Errors\">Wikipedia Summary</a>: The Comedy of Errors is one of <b>William Shakespeare's</b> early plays. It is his shortest and one of his most farcical comedies, with a major part of the humour coming from slapstick and mistaken identity, in addition to puns and word play."
  }
]
What about TLS certs for the gateway?
If you want to add cert-manager, you can use the arkade which again wraps up the helm chart into a single command:
arkade install cert-manager
You can create a public DNS A record for the IP address given to you by the inlets-operator and then use that to get a TLS certificate.
If you'd like bonus points or are a seasoned Istio user, try out the tutorial using inlets-pro and report back: Istio Gateway with cert-manager.
First I created a ClusterIssuer named letsencrypt-prod:
export EMAIL="you@example.com"

cat > issuer-prod.yaml <<EOF
apiVersion: cert-manager.io/v1
kind: ClusterIssuer
metadata:
  name: letsencrypt-prod
spec:
  acme:
    server: https://acme-v02.api.letsencrypt.org/directory
    email: $EMAIL
    privateKeySecretRef:
      name: letsencrypt-prod
    solvers:
    - selector: {}
      http01:
        ingress:
          class: istio
EOF
Not the class: istio field.
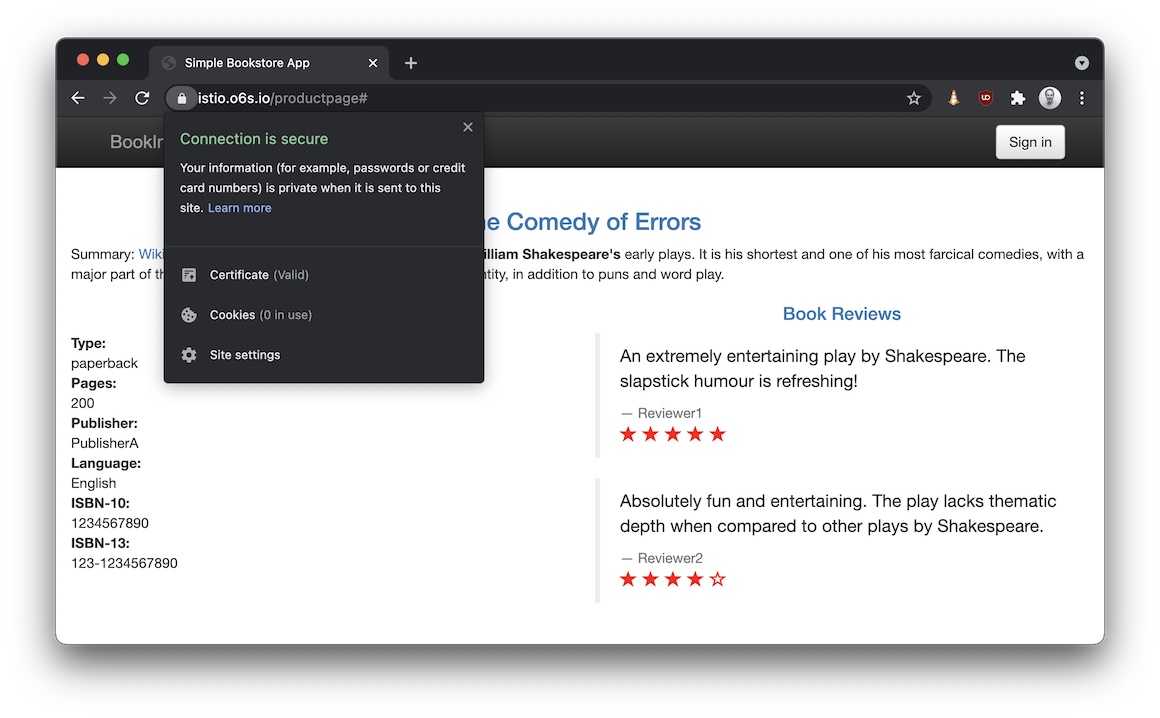
Then I edited the gateway for my domain istio.o6s.io:
apiVersion: networking.istio.io/v1
kind: Gateway
metadata:
  name: bookinfo-gateway
spec:
  selector:
    istio: ingressgateway
  servers:
  - port:
      number: 443
      name: https
      protocol: HTTPS
    tls:
      mode: SIMPLE
      credentialName: ingress-cert
    hosts:
    - istio.o6s.io
Afterwards I created a certificate entry for istio.o6s.io, so you need to do the same and customise it with your domain:
apiVersion: cert-manager.io/v1alpha2
kind: Certificate
metadata:
  name: ingress-cert
  namespace: istio-system
spec:
  secretName: ingress-cert
  commonName: istio.o6s.io
  dnsNames:
  - istio.o6s.io
  issuerRef:
    name: letsencrypt-prod
    kind: ClusterIssuer
Then apply the three YAML files in order.
You can order inlets PRO for your team for up to 5 people with a business use license, or pick up a personal license if you're paying with your own money.
Find out which option is right for you: inlets PRO
Wrapping up
That's it, tea is probably ready now and you need to shut the laptop down for the evening. Run the following to have the inlets-operator delete your public IP:
kubectl delete ns istio-system
Now remove your KinD cluster:
kind delete cluster
Here's one I created earlier:
Just had a quick call with @craigbox and walked through going from no K8s to @IstioMesh with a public IP, using KinD, @inletsdev and the bookstore demo.
— Alex Ellis (@alexellisuk) January 28, 2020
Istio and the inlets-operator were installed with one-liners - "arkade install"
Check it out https://t.co/DWnY3oDVhN pic.twitter.com/gQjgvKr4yJ
You may also like
arkade and inlets:
- Star or Fork arkade on GitHub
- TLS the easy way for OpenFaaS with nginx-ingress, inlets-operator and cert-manager
- Get a LoadBalancer for your private Kubernetes cluster
Service-mesh labs with OpenFaaS: