Install OpenShift & OpenFaaS in a container with Weave Footloose
In this tutorial we will install OpenShift in a container using a new tool called footloose by Weaveworks.
Footloose is a tool built by Weaveworks which builds and runs a container with systemd installed. It can be created in a similar way to a VM but without the overheads.
I wrote this tutorial because I wanted a light-weight environment for testing the OpenFaaS project on OpenShift Origin 3.10. An alternative distribution for testing is Minishift which also allows you to run OpenShift locally, but in a much more heavy-weight VM.
Updated: switched to using Arkade and helm 3 in Apr 2020, instructions re-tested.
Install Footloose
You can use a Linux machine or MacOS host for this tutorial. ARM and Raspberry Pi are not supported.
- Install Footloose
Follow the instructions on the official website, using the latest release available
- Create a config for the CentOS 7 image
Create a local folder and then footloose.yaml inside of it:
cluster:
  name: cluster
  privateKey: cluster-key
machines:
- count: 1
  spec:
    image: quay.io/footloose/centos7:0.6.3
    name: os%d
    privileged: true
    portMappings:
    - containerPort: 22
    - containerPort: 8443
      hostPort: 8443
    - containerPort: 53
      hostPort: 53
    - containerPort: 443
      hostPort: 443
    - containerPort: 80
      hostPort: 80
    volumes:
    - type: volume
      destination: /var/lib/docker
footloose.yaml
Note the additional ports 8443 and 53 used by OpenShift Origin and then 80 and 443 are bound for exposing your projects.
If you already have services bound to 80/443 then you can comment out these lines.
- Start the CentOS container
footloose create
- Start a root shell
footloose ssh root@os0
Configure Docker
- Install and start Docker
yum check-update ; \
  curl -fsSL https://get.docker.com/ | sh
Instructions from: docker.com
- Add an insecure registry
Find the subnet:
# ifconfig eth0
eth0: flags=4163<UP,BROADCAST,RUNNING,MULTICAST>  mtu 1500
        inet 172.17.0.2  netmask 255.255.0.0  broadcast 172.17.255.255
- Create
/etc/docker/daemon.jsonwith the subnet range defined for insecure Docker registry use:
export SUBNET="172.17.0.0/16"

mkdir -p /etc/docker

cat > /etc/docker/daemon.json <<EOF
{
   "insecure-registries": [
     "$SUBNET"
   ]
}
EOF
- Now enable / start Docker
systemctl daemon-reload \
 && systemctl enable docker \
 && systemctl start docker
Install OpenShift
- Grab the OpenShift client tools
Find the latest URL from: https://www.okd.io/download.html
export URL="https://github.com/openshift/origin/releases/download/v3.11.0/openshift-origin-client-tools-v3.11.0-0cbc58b-linux-64bit.tar.gz"

curl -sSL -o openshift-client-tools.tgz $URL \
 && tar -xvf openshift-client-tools.tgz \
 && rm -rf openshift-client-tools.tgz

# Rename the destination folder:
  && mv open* openshift
- Make
ocavailable viaPATH
echo "export PATH=$PATH:`pwd`/openshift" | tee -a ~/.bash_profile

source ~/.bash_profile
- Authenticate to the Docker hub
docker login
- Install OpenShift
oc cluster up --skip-registry-check=true
This will take a few minutes
If you see an error / timeout at run_self_hosted.go:181] Waiting for the kube-apiserver to be ready then run the command again until it passes.
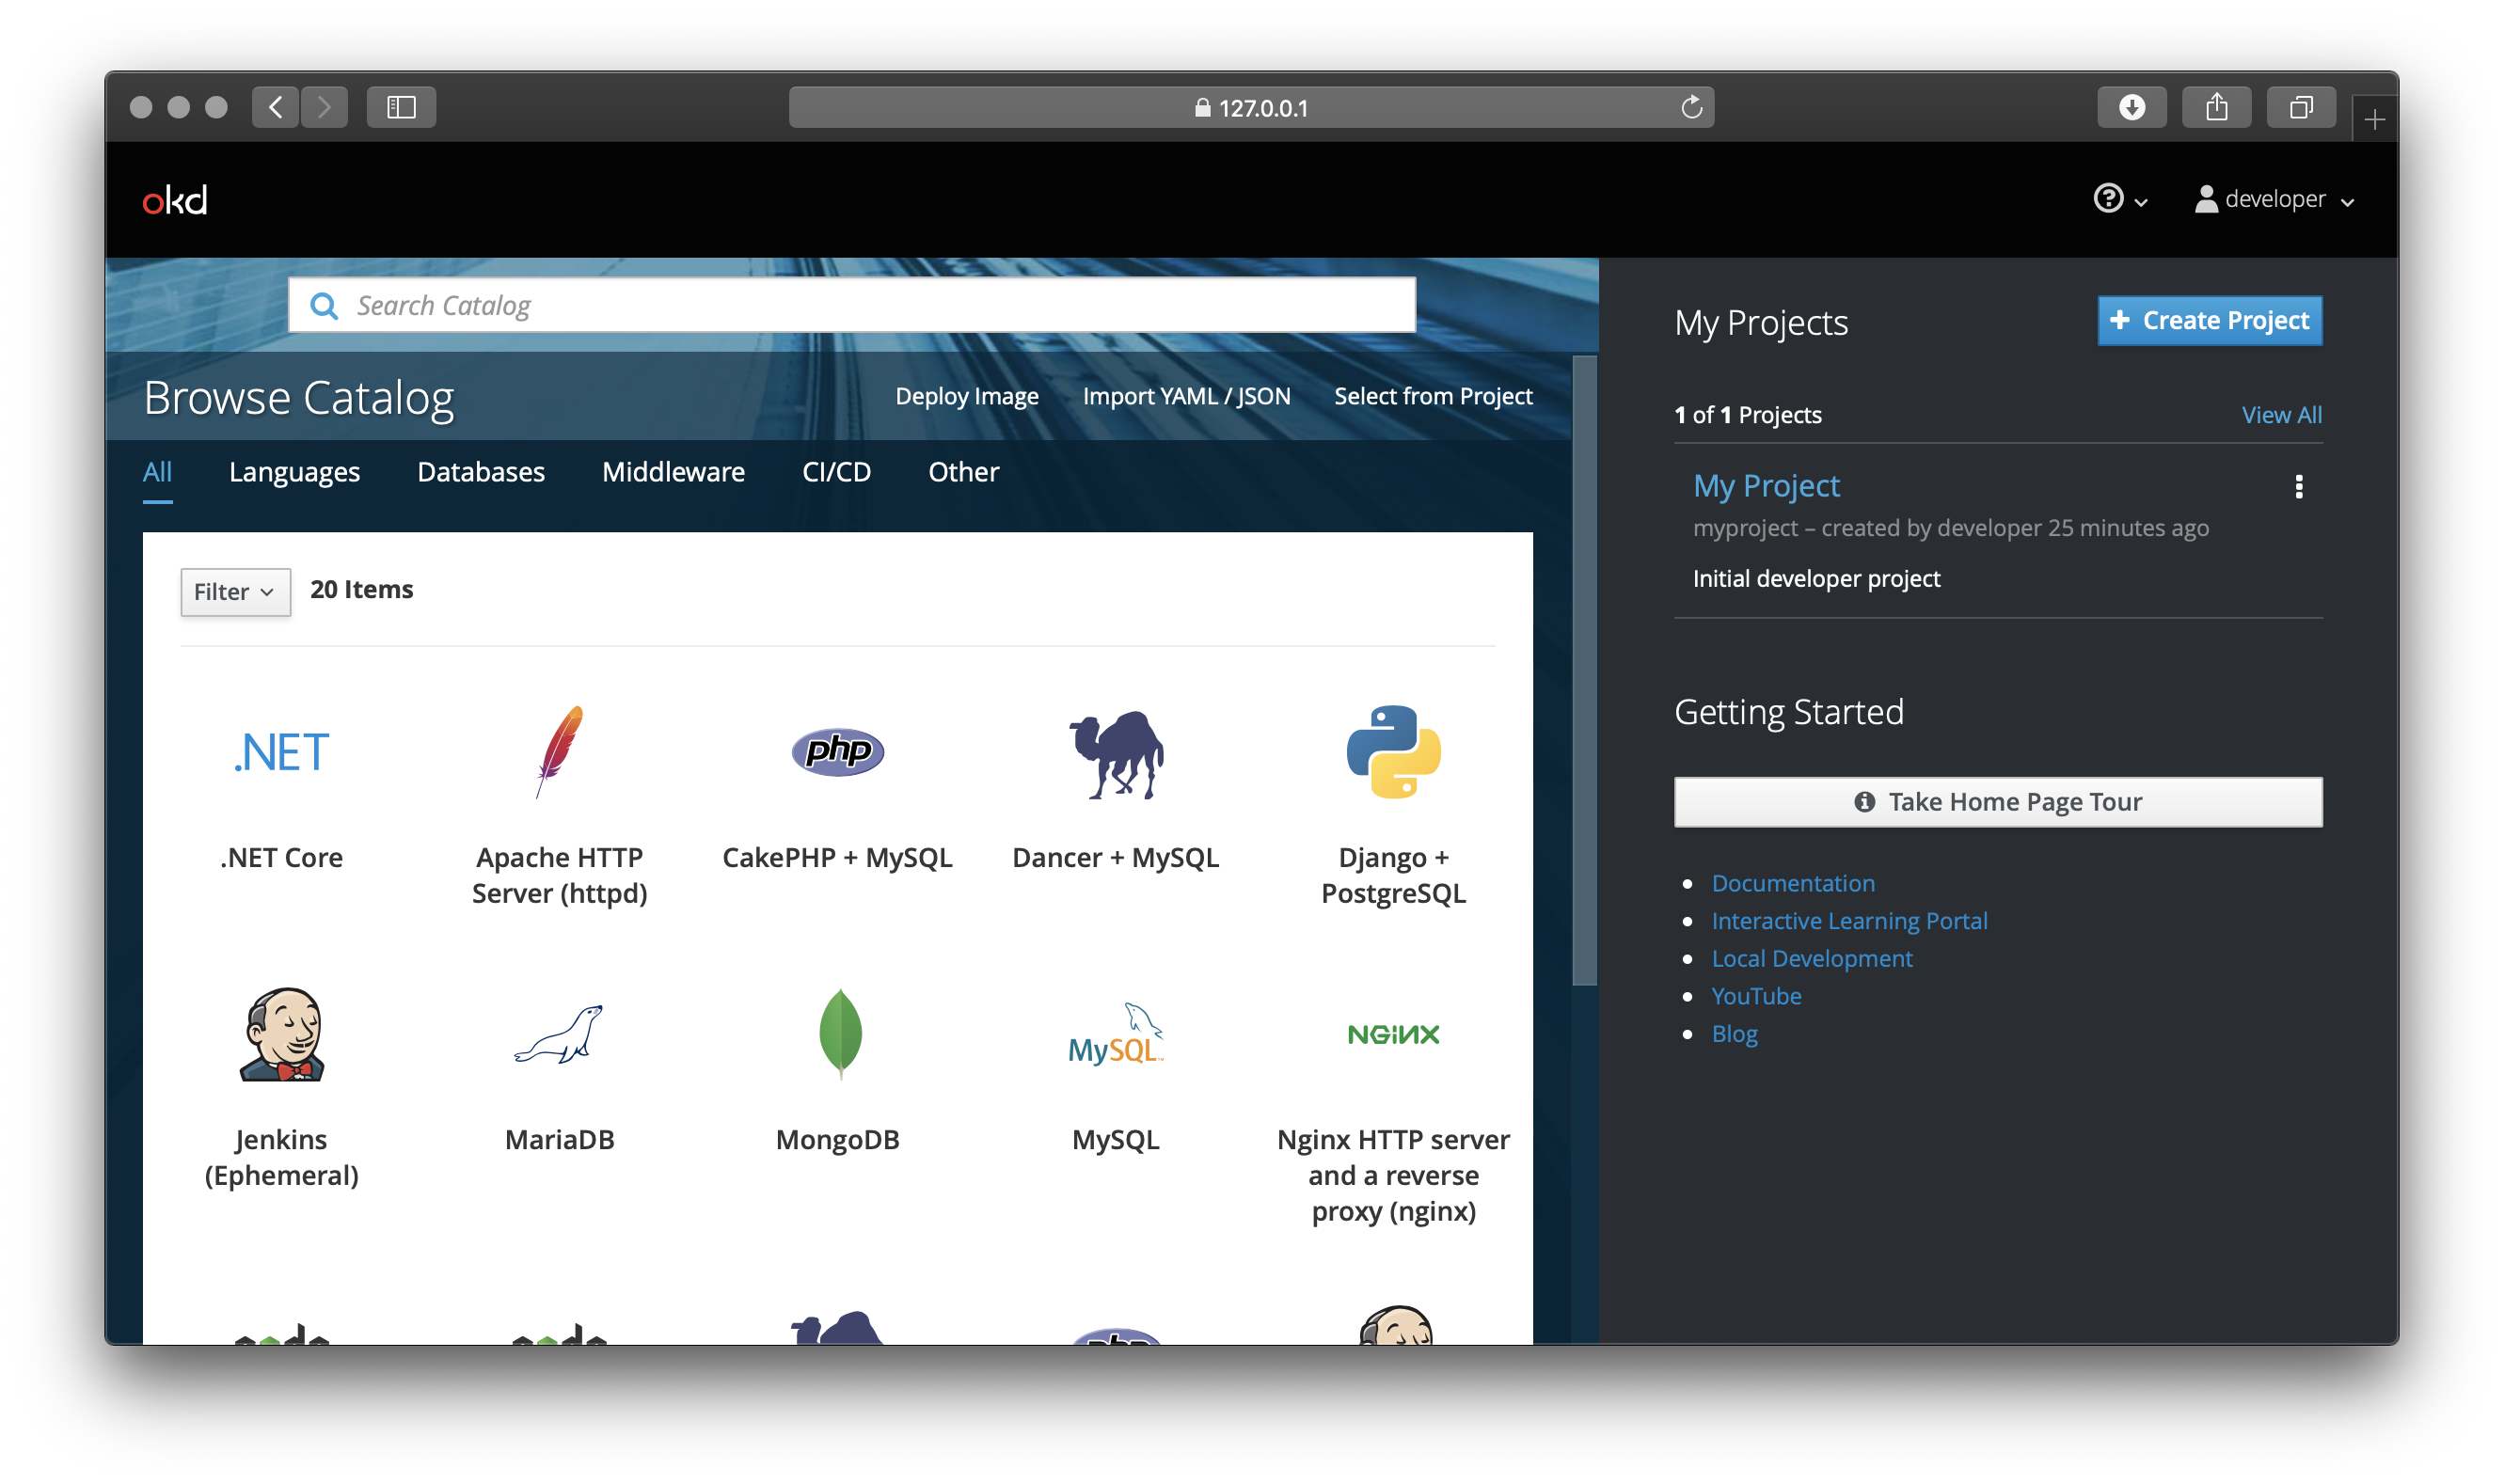
To access your OpenShift cluster, you can either access it via a browser on your local machine because port 443 is mapped locally the URL is https://127.0.0.1:8443.
You can also access the API via oc installed in the footloose container, or download oc by adding the OpenShift client tools to your laptop.
This output shows you how to connect for the first time:
Login to server ...
Creating initial project "myproject" ...
Server Information ...
OpenShift server started.

The server is accessible via web console at:
    https://127.0.0.1:8443

You are logged in as:
    User:     developer
    Password: <any value>

To login as administrator:
    oc login -u system:admin
Test your OpenShift cluster
Let's install OpenFaaS which makes Serverless Functions Simple through the use of Docker images and Kubernetes as a highly scalable control-plane. OpenShift is effectively a distribution of Kubernetes, so with some testing and tweaking everything should work almost out of the box.
OpenFaaS supports microservices, functions, scale to zero, source to URL and much more. Today we'll try out one of the sample functions from the Function Store to check when an SSL certificate will expire.
- Install OpenFaaS
Setup projects, in Kubernetes these are called namespaces:
oc login -u system:admin

oc adm new-project openfaas
oc adm new-project openfaas-fn
Download arkade to install OpenFaaS using Helm 3 and its helm chart:
curl -sLS https://dl.get-arkade.dev | sh
Install:
# Set `securityContext` to false to disable the custom
# high user ID. OpenShift needs to allocate its own and
# this setting prevents several containers from starting.

arkade install openfaas \
 --set securityContext=false
Now let's create a route for the gateway. For Kubernetes user, you would typically create an Ingress record or LoadBalancer here instead.
cat > route.yaml << EOF
apiVersion: route.openshift.io/v1
kind: Route
metadata:
  name: openfaas
  namespace: openfaas
spec:
  host: gateway.127.0.0.1.nip.io
  to:
    kind: Service
    name: gateway
    weight: 100
  wildcardPolicy: None
  tls:
    termination: edge
EOF

oc apply -f route.yaml
I've used nip.io to create a DNS name that can be resolved and which points to my local machine. An alternative to using nip.io is to create an entry in /etc/hosts.
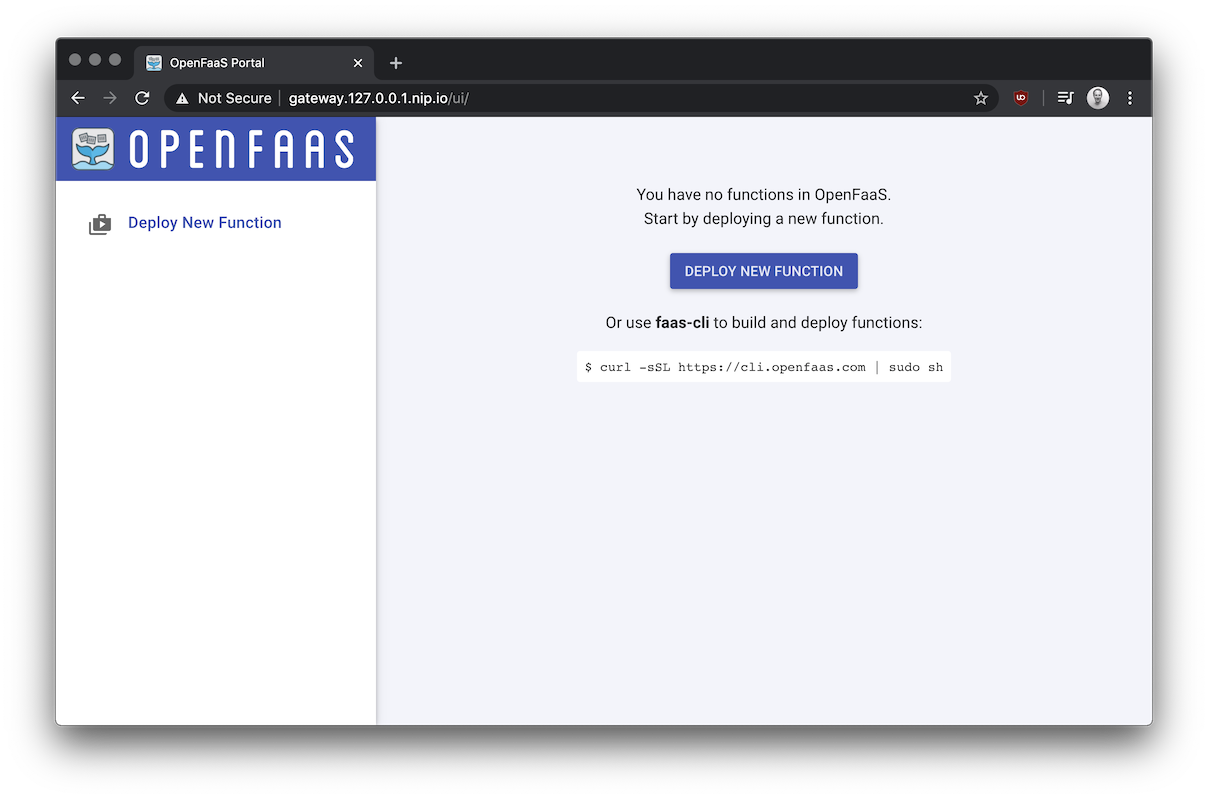
Find your OpenFaaS password by running arkade info openfaas, run the command that populates the PASSWORD environment variable.
Access the OpenFaaS UI at: https://gateway.127.0.0.1.nip.io/
- Install the OpenFaaS CLI:
curl -sLS https://cli.openfaas.com | sh
- Log in with the CLI
Set the OPENFAAS_URL permanently:
echo "export OPENFAAS_URL=https://gateway.127.0.0.1.nip.io" | tee -a ~/.bash_profile
source ~/.bash_profile
echo -n $PASSWORD | faas-cli login --username admin --password-stdin
For most of the commands we run via the CLI we'll have to add --tls-no-verify so that the code will ignore the self-signed certificate issued by the OpenShift Route definition we created earlier.
- Deploy a function
faas-cli store deploy certinfo --tls-no-verify

Deployed. 202 Accepted.
URL: https://gateway.127.0.0.1.nip.io/function/certinfo
Once the function shows Ready in the OpenFaaS UI invoke it:
echo -n www.openfaas.com | faas-cli invoke --tls-no-verify certinfo

Host 185.199.110.153
Port 443
Issuer Let's Encrypt Authority X3
CommonName www.openfaas.com
NotBefore 2019-03-21 12:21:00 +0000 UTC
NotAfter 2019-06-19 12:21:00 +0000 UTC
NotAfterUnix 1560946860
SANs [www.openfaas.com]
TimeRemaining 2 months from now
You can also access the function via HTTP:
curl -k -sd "www.alexellis.io" https://gateway.127.0.0.1.nip.io/function/certinfo

Host 147.75.62.137
Port 443
Issuer Let's Encrypt Authority X3
CommonName www.alexellis.io
NotBefore 2020-03-16 23:57:34 +0000 UTC
NotAfter 2020-06-14 23:57:34 +0000 UTC
NotAfterUnix 1592179054
SANs [www.alexellis.io]
TimeRemaining 1 month from now
We are using the admin account for these operations, but you can also grant access to the "non-root" account called "developer". The following command gives access to the openfaas and openfaas-fn projects:
oc adm policy add-cluster-role-to-user cluster-reader developer
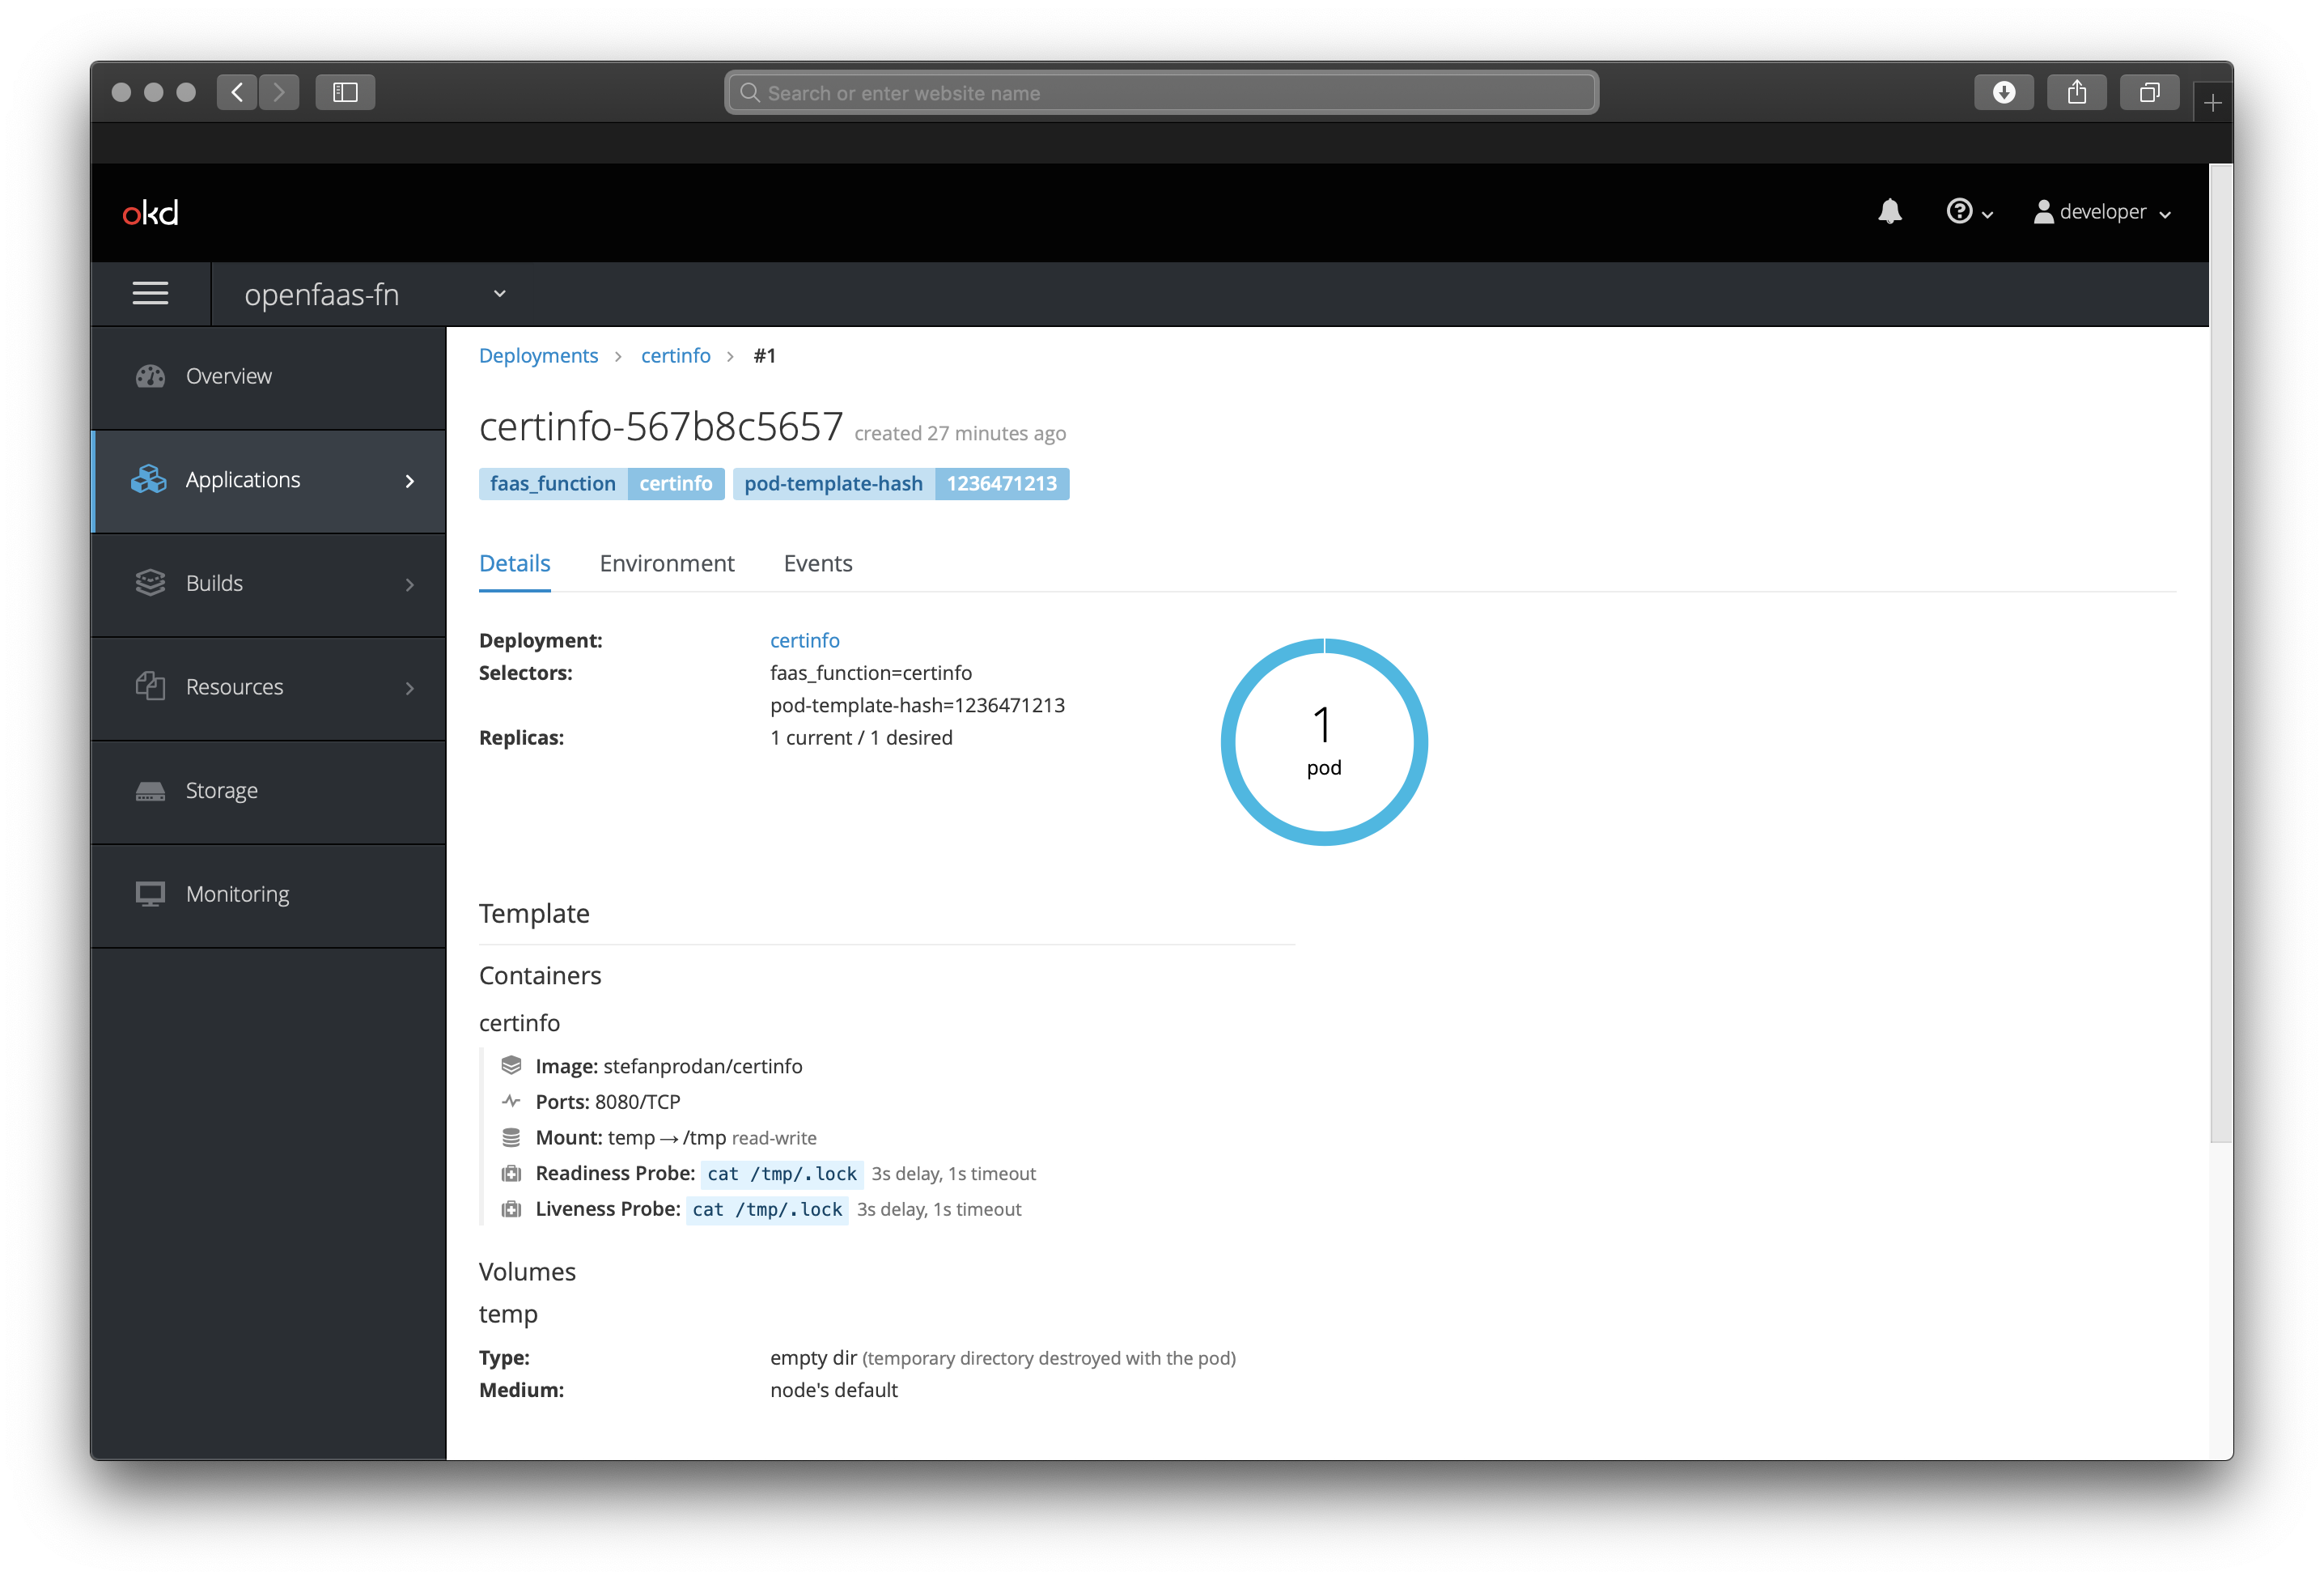
Here we are inspecting the Pod created by OpenFaaS for the certinfo function:
Tear-down
If you want to remove the OpenShift cluster you can run: footloose delete in the directory on the host.
Wrapping up
In around 15-30 minutes we've installed a fully-functional OpenShift Origin cluster and all we needed was to have Docker on the local machine. This means that you can learn and test OpenShift almost anywhere with very little effort.
Whether you use minishift, Vagrant - tutorial by Liz Rice or footloose using this tutorial, testing your application on OpenShift hasn't been easier than this.
What's next?
We now have a dedicated OpenShift documentation page and the project helm chart has been made to work with OpenShift for the full range of features.
OpenFaaS Cloud is currently out of scope, but feel free to test it using your footloose VM and get in touch if you need help.
I haven't tried OpenShift 4 yet, but if you'd like to spend some time on it and report back, I'd be open to taking PRs and feedback on how we can enable it better. Perhaps the instructions I've written here for OpenShift 3.11, would "just work", or maybe things are much different. Either way, feel free to get in touch.
Connect
You can find out more about footloose in the Weaveworks GitHub page.
If you're an OpenShift user and would like to talk more, or to contribute to the support in OpenFaaS, then please join us on Slack.
Follow me @alexellisuk
Hire me for Cloud Native / Docker / Go / CI & CD or Kubernetes
Could you use some help with a difficult problem, an external view on a new idea or project? Perhaps you would like to build a technology proof of concept before investing more? Get in touch via sales@openfaas.com or book a session with me on calendly.com/alexellis.