Is that a Docker Engine in your pocket??
How cool would it be to be able to carry around an entire computer the size of half a credit card loaded up with a full Docker Engine?
The Raspberry Pi Zero is that computer and with USB networking you can plug it straight into your laptop.
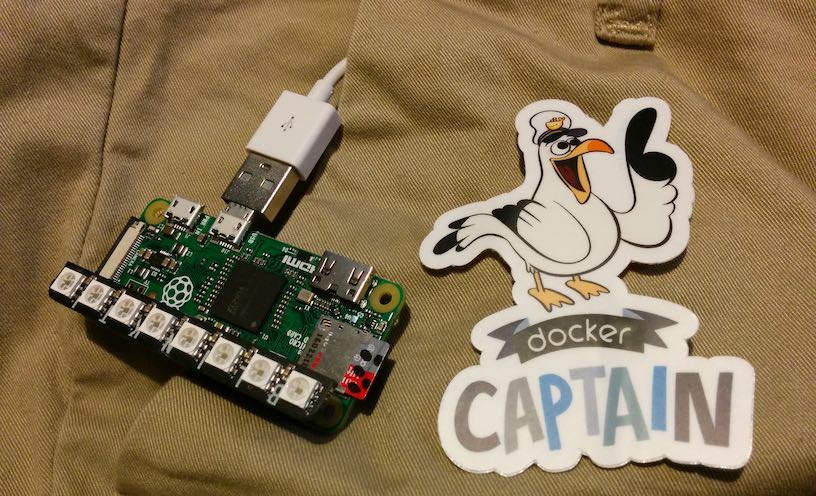
Featured above with the awesome Pimoroni Blinkt
Here's what we're about to do:
- Flash an SD card, enabling SSH and OTG
- Enable Internet connection sharing
- Grab Docker
- Build, ship and run a fun container in Node.js
This guide should take less than 15-20 minutes from start to finish.
Let's get started!
Head over to the Raspberry Pi website and download the latest Jessie Lite image:
Use dd or a similar tool like Etcher to write the image to the SD card. If you're on a Mac or Windows, plug in the SD card and wait for a Boot volume to appear.
Edit config.txt and add this on two separate lines at the bottom of the file:
dtoverlay=dwc2
gpu_mem=16
Edit cmdline.txt (make sure you don't add any line-breaks) and append this after rootwait:
modules-load=dwc2,g_ether
Now to enable SSH create a file named ssh with no extension. If you're on a Mac you can probably do this: touch /Volumes/boot/ssh.
Eject (diskutil eject /Volumes/boot) or unmount the SD card and insert it into your Pi Zero. Plug the Pi Zero into the computer via a USB port and a good quality USB cable.
Now wait 1-2 minutes while it boots up.
I use this script to wait until the Pi is reachable:
while [ true ]; do sleep 0.2 && ping -c 1 raspberrypi.local && sleep 0.2 ; done
You can find the Pi via mDNS or the avahi-daemon on Windows or a Mac. This may not be enabled on your Linux machine, so install the package if you can't find the Pi.
And SSH
So connect to your device with a Terminal, or Putty/Git Bash if you're on Windows.
The password is: raspberry
$ ssh pi@raspberrypi.local
Add Internet access
You will now need to set up Internet connection sharing on your Mac or Windows machine.
On Linux you'll need to set up IPv4 forwarding (grab the instructions for your distribution from Google).
This is the Preferences app:
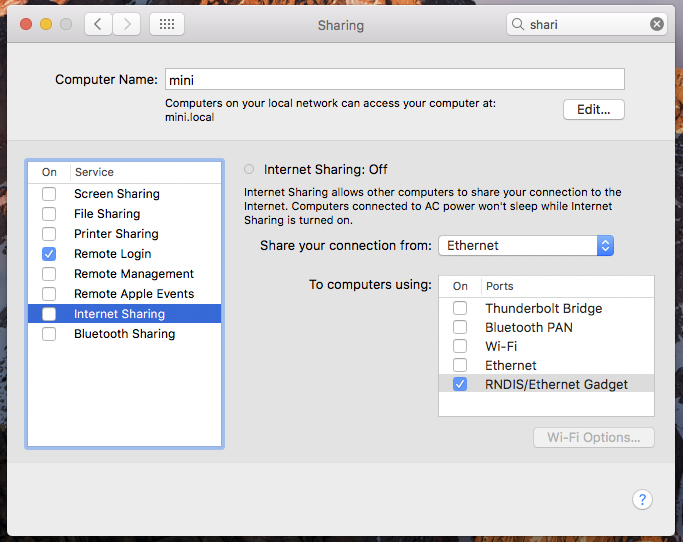
Make sure you share from either Wi-Fi or Ethernet to your RNDIS/Ethernet Gadget. Then click the checkbox by Internet Sharing.
After a few minutes or a reboot your Pi Zero will obtain an IP address like 192.168.2.2 and you can test connectivity like this:
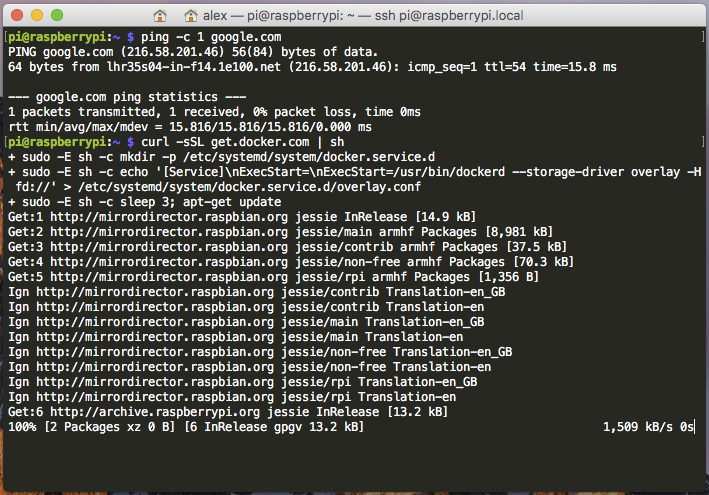
To install the Docker Engine go ahead and type in:
$ curl -sSL https://get.docker.com | sh
$ sudo usermod -aG docker pi
And there you have it. A fully working Docker Engine in your pocket. Whenever you need it, plug it into your PC or laptop via USB and build, ship, run!
Note: If you cannot figure how to setup Internet Connection Sharing on your Linux distro, you can install a HTTP proxy server and configure Docker to use that instead.
Run a container
For that first container let's use a Node.js web server which serves up over 400 ASCII cows.
$ git clone https://github.com/alexellis/arm-cows
$ cd arm-cows
$ docker build -t arm-cows .
This may take a while
$ docker run -p 3000:3000 --name web -d arm-cows
$ curl -4 http://localhost:3000/

         (__)
         (oo)
  /-------\/
 / |     || ---->
*  ||----||
  ___/  ___/

 Cow waterskiing
You'll also be able to
curlthe web server from your machine using the IP address of USB0ifconfig usb0.
Share this tutorial
You can reach out to me on Twitter @alexellisuk.
Further reading: ================Create a Docker Engine that you can carry around in your pocket with the $5 @Raspberry_Pi Zero! https://t.co/dz23CHYEbj pic.twitter.com/eMGtTReVgt
— Alex Ellis (@alexellisuk) December 20, 2016